
Onboarding & Setup
This page walks you from the very first sign-in to a ready-to-use organization. Plan 5–10 minutes for the initial setup.
1. Sign in
Open the nunq web app and sign in. You have two options:
- Sign in with Microsoft — recommended for businesses on Microsoft Entra ID (Azure AD).
- Sign in with Google — new accounts require a Google Workspace (business) account. Personal Google accounts that already exist can still sign in.
After your first successful sign-in you're taken straight to onboarding.
2. Start onboarding
Personal accounts (Google or personal Microsoft accounts) are set up automatically — a personal workspace named "Your Name's Workspace" is created for you and you land in chat right away.
Business accounts (Microsoft Entra ID) see a short form:
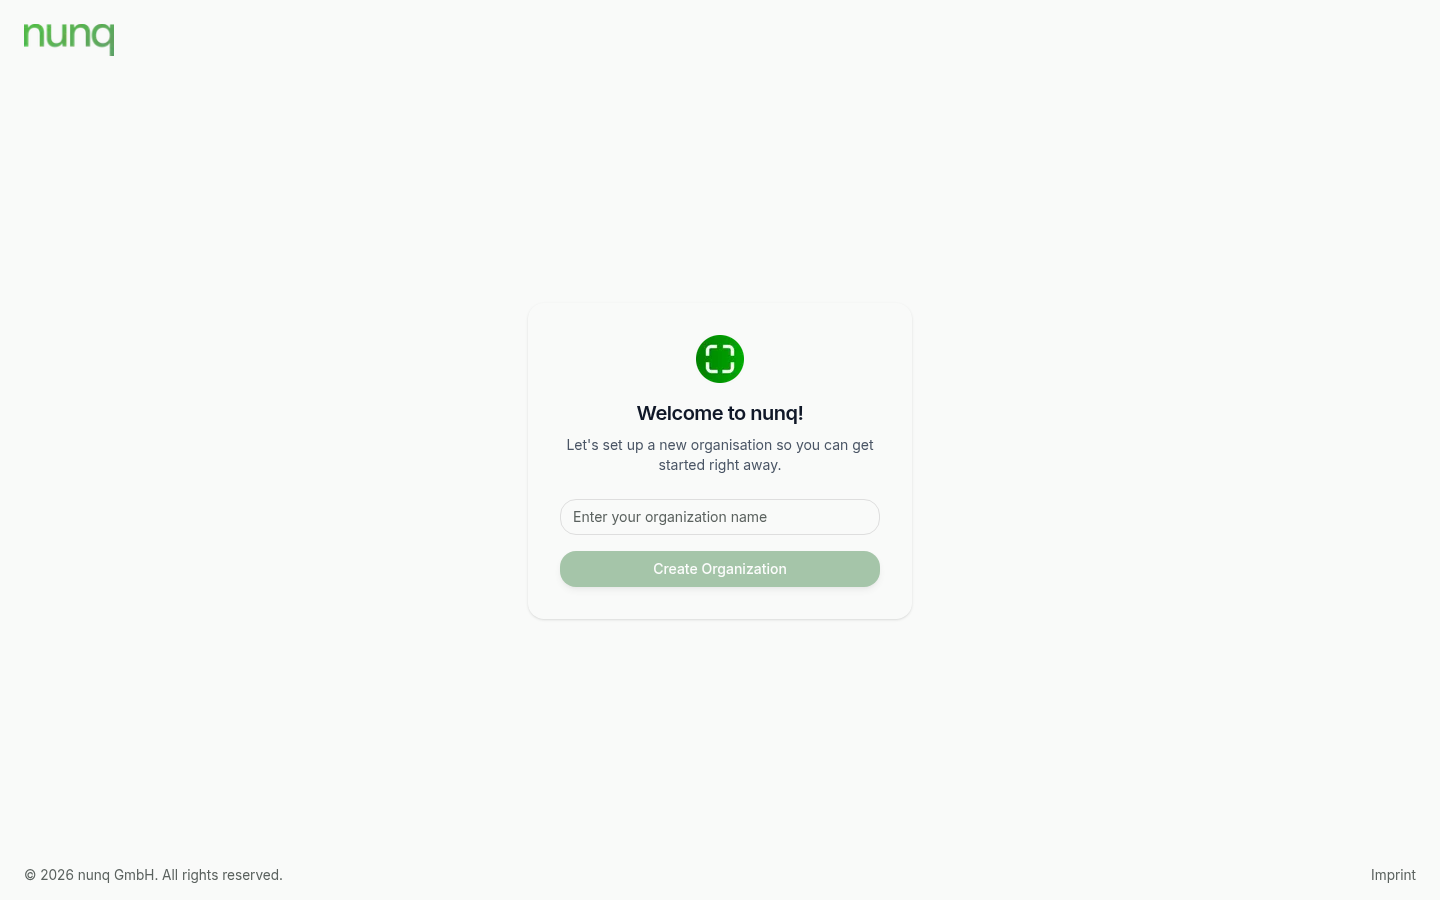
Enter the name of your organization here. This name later appears in the sidebar header and across all admin views.
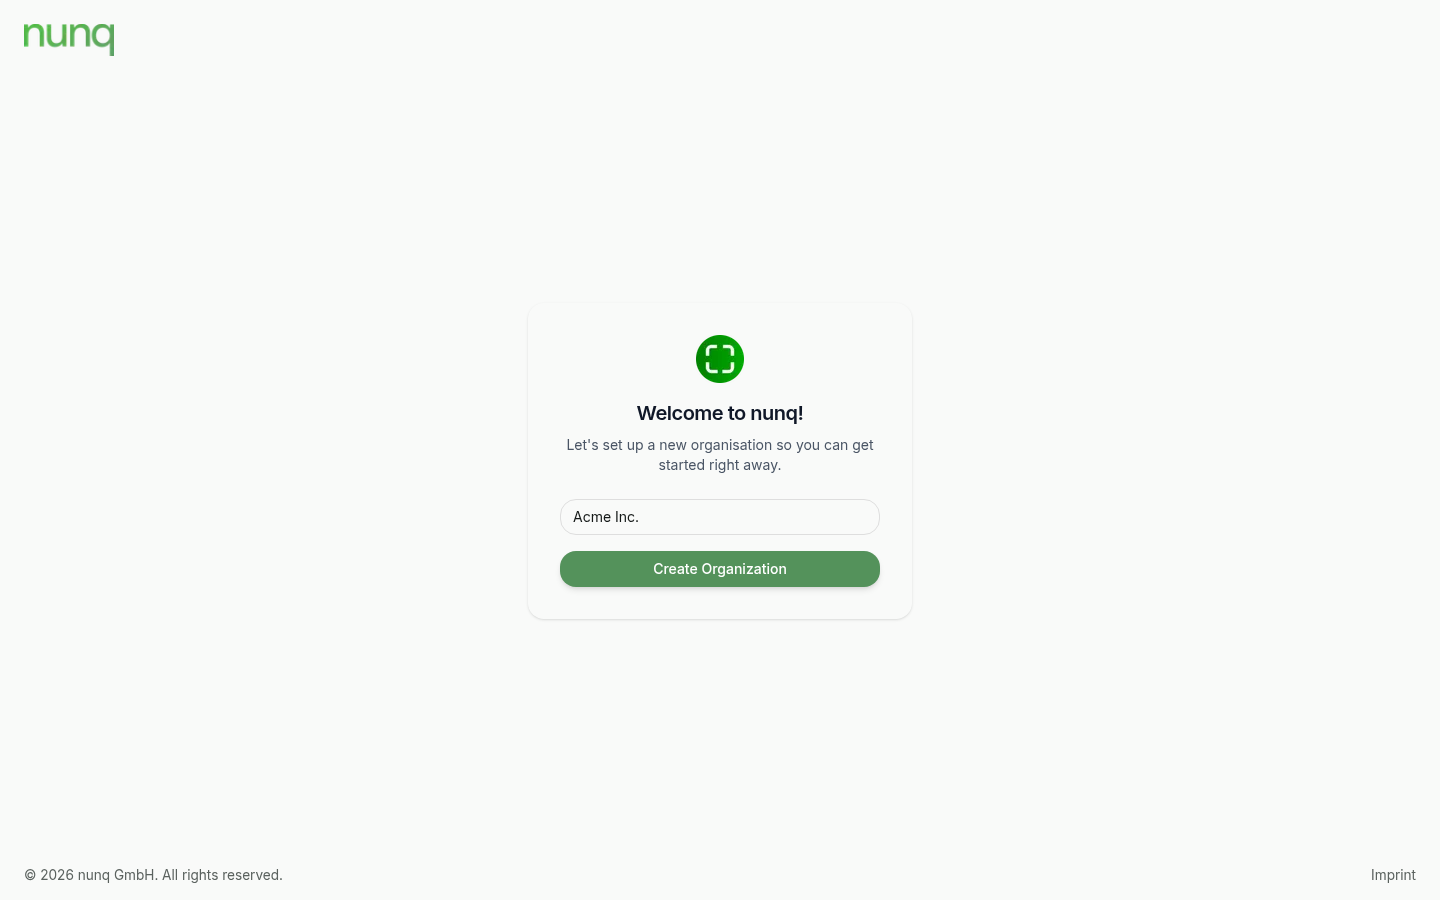
Click Create Organization to finish. In the background nunq:
- Creates a new organization with one initial seat.
- Sets your account as the Administrator of the organization.
- Seeds the default permissions for the Editor and Member roles (see Role Permissions).
TIP
If a colleague already created a nunq organization for your Microsoft tenant and tenant auto-assignment is enabled there, the onboarding form is skipped — you're automatically added to the existing organization instead.
3. First time in chat
After onboarding completes, you land on the chat home page. It's empty at first — just start a conversation from the input field at the bottom.
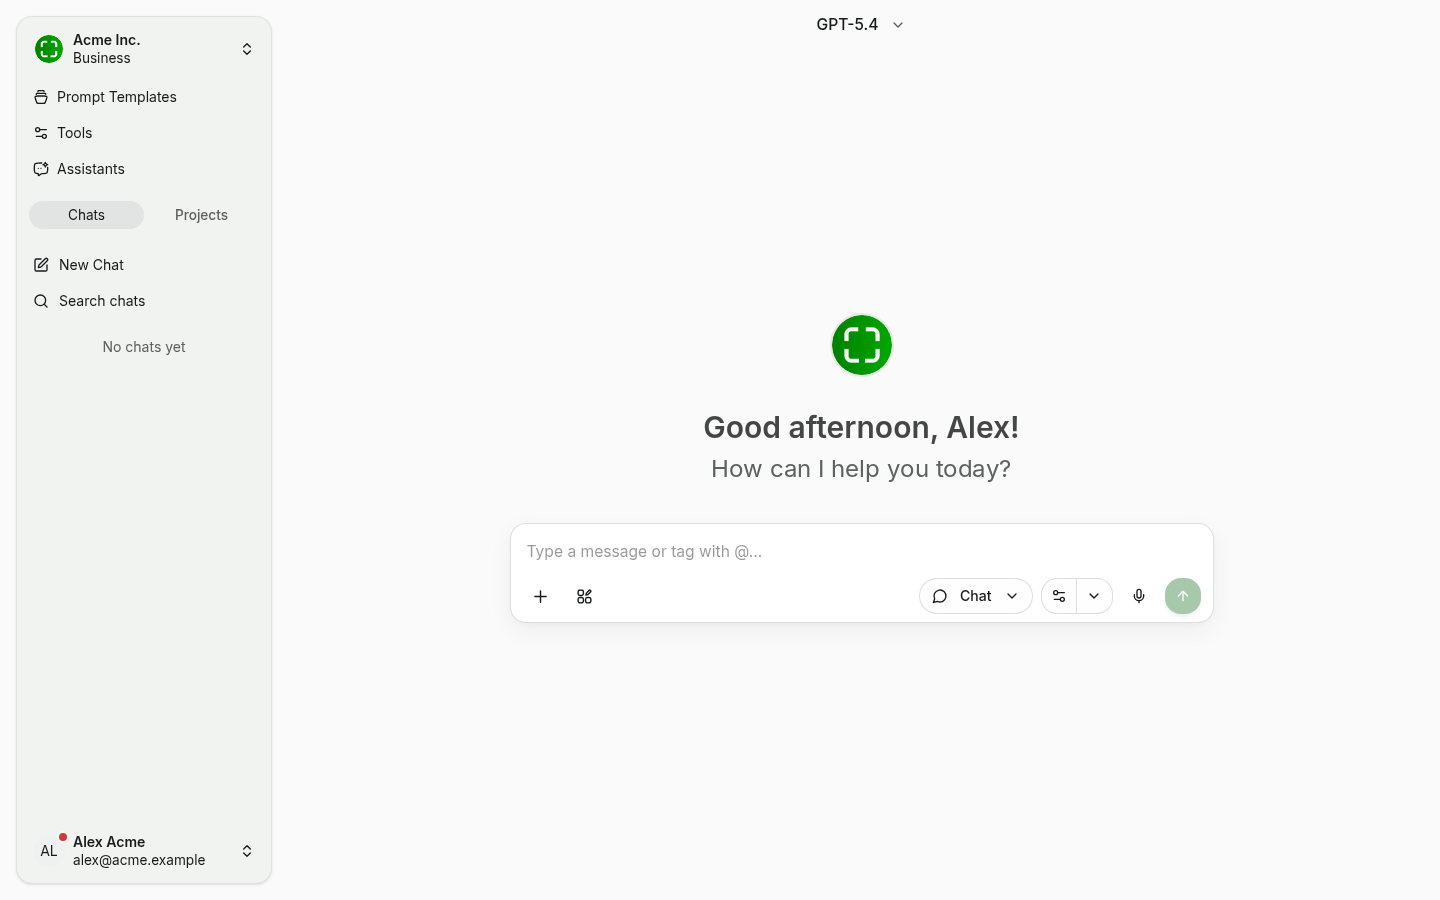
For more on the chat surface, see Chat Interface.
4. Enable tenant auto-assignment (recommended)
So your colleagues don't each end up in their own separate organization, enable tenant auto-assignment — new sign-ins from your Microsoft tenant will be added to your organization automatically.
- Open Organization Settings → User Assignment.
- Under Allowed Email Domains, add every domain that belongs to your organization (e.g.
acme.com,consulting.acme.com). Confirm each domain with the + button. Subdomains are not matched implicitly — add them separately if you need them. - Optional: turn on Auto-activate assigned users to immediately give a seat to new members (when seats are available). Otherwise you have to activate them manually under Users.
- Click Save & Verify.
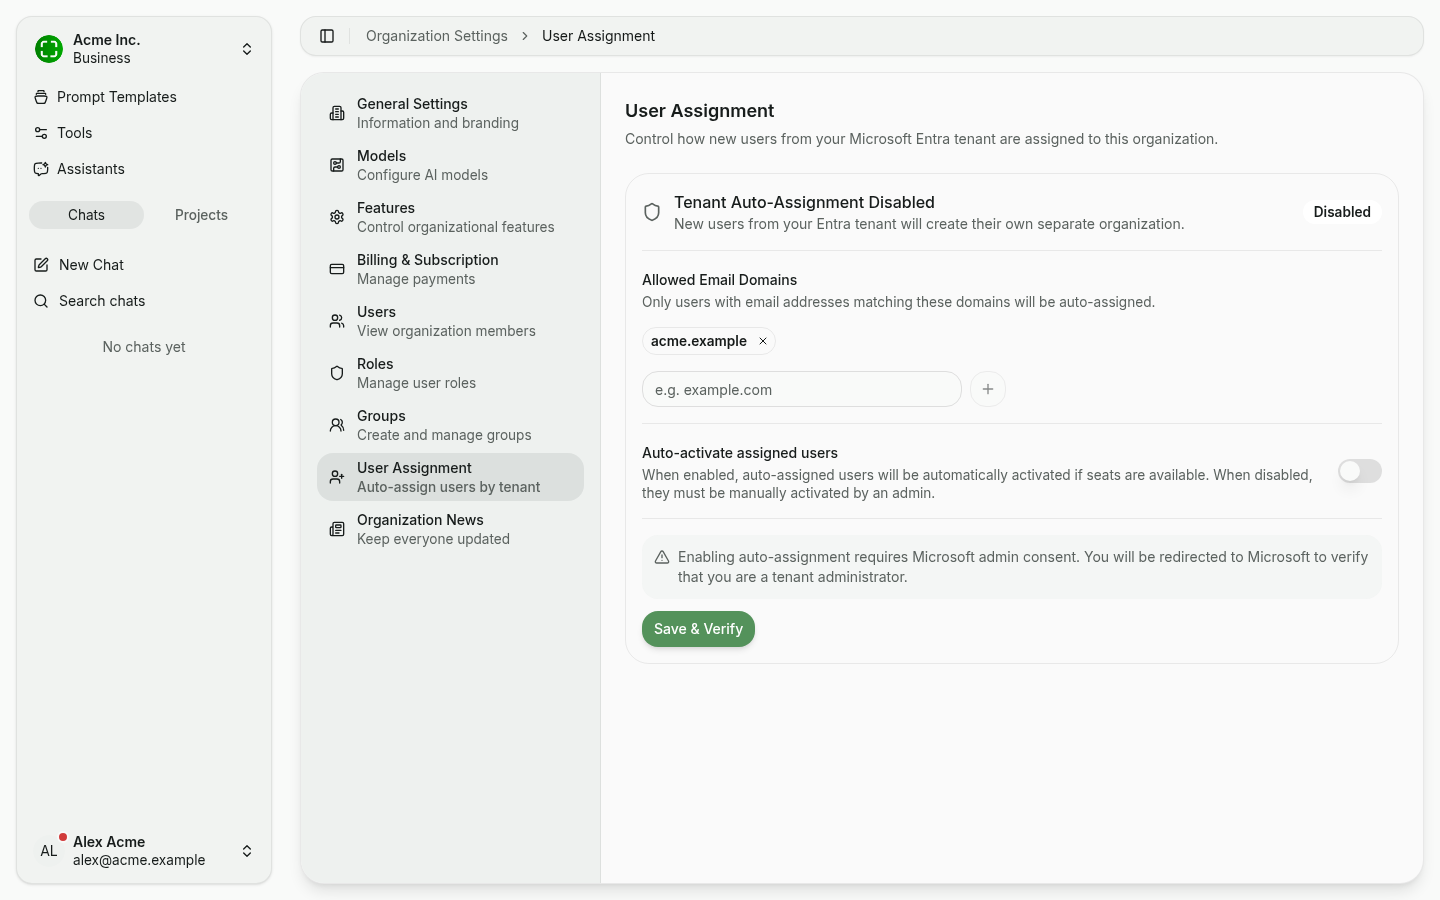
You're redirected to Microsoft to grant tenant admin consent. The status pill in the top right flips from Disabled to Active only after consent succeeds.
WARNING
Enabling this requires an account with Microsoft tenant admin rights. Without those rights, the verification step fails.
For the full reference, see User Assignment (Entra).
5. Install the desktop app
nunq has two parts: the web app you're in right now, and a Windows desktop application that gives you a system-wide overlay — AI assistance in any application, without context-switching.
While the desktop app isn't running, the web app shows a banner at the top:
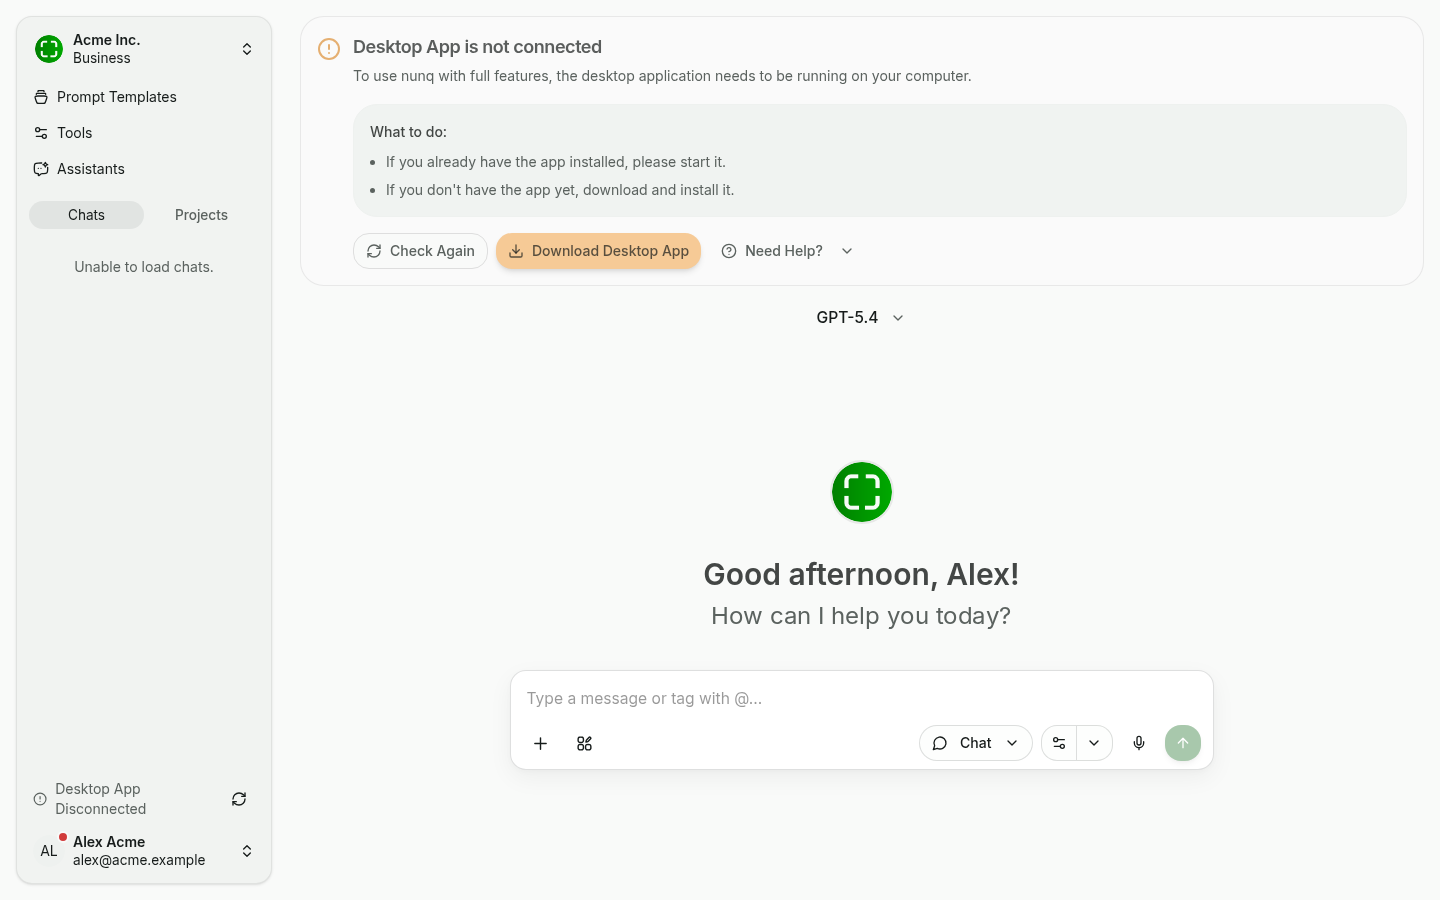
- Click Download Desktop App to grab the installer.
- Follow the steps under Installation & Setup.
- Once the app is running, the banner disappears automatically and a green status indicator appears at the bottom-left of the sidebar.
TIP
The desktop app is optional but recommended — many features (screenshots, overlay shortcuts, project sync) only work alongside it.
6. Recommended next steps
After the basic setup, take a quick look at:
- General Settings — upload an organization logo and tweak branding.
- Model Configuration — enable the AI models your organization should use, or plug in your own API keys.
- Feature Toggles — turn individual platform features on or off for your organization.
- Role Permissions — control which actions Editors and Members are allowed to perform.
- Groups — bundle members so you can share resources to whole teams at once.
- Billing & Subscription — purchase additional seats or change your plan as your team grows.
7. Invite your team
New members currently join your organization only via tenant auto-assignment (see step 4):
- Make sure auto-assignment is enabled and the correct email domains are listed.
- Ask your colleagues to sign in to nunq once with their Microsoft Entra account.
- On their first sign-in they're automatically added to your organization.
They then appear under Users & Roles — either already active (if Auto-activate assigned users is on) or inactive. You can flip inactive members to Active there; each active member consumes one seat.
INFO
There is currently no way to invite someone by email address directly — the person has to sign in via Microsoft Entra first before they show up in your organization at all.