
Sharing Assistants, Tools, and Prompt Templates
Assistants, tools, and prompt templates start out as personal resources — only you can see them. Sharing lets you make them available to specific colleagues, a group, or your entire organization, with view-only or full-edit permissions.
The same Share dialog handles all three resource types. The screenshots in this guide use an assistant, but the flow for tools and prompt templates is identical apart from the dialog title.
Opening the Share Dialog
You can open the dialog in two places:
- From the resource list (Assistants, Tools, or Prompt Templates). Hover or open the menu on a card and pick Share.
- From the resource editor. The top-right shows a Share button (or Manage sharing if shares already exist).
The button title and icon tint flip from neutral to the brand colour once a resource has at least one active share, so a quick glance at the list tells you what's already going out.
Choosing How to Share
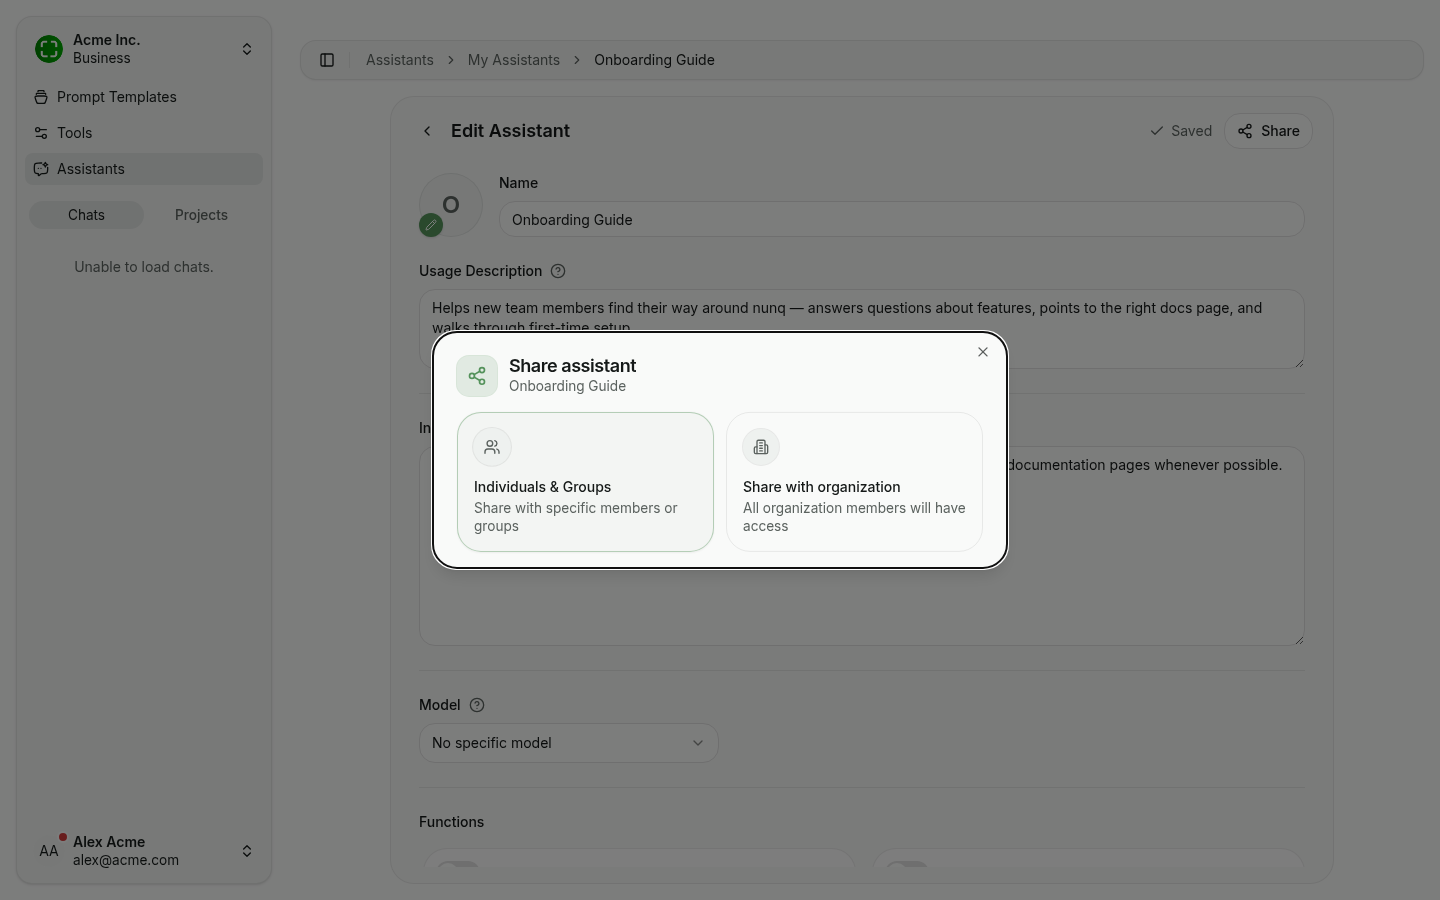
The first screen of the dialog asks you to pick one of two paths:
- Individuals & Groups — Pick specific colleagues and/or groups, with per-recipient permissions.
- Share with organization — Make the resource available to every member of the organization with one click.
Both paths are gated by your role permissions. If your role does not allow a particular action, the option appears disabled with a "Not allowed by your role" hint.
Sharing with Individuals and Groups
After picking Individuals & Groups you see the list of current shares. New resources have none yet.
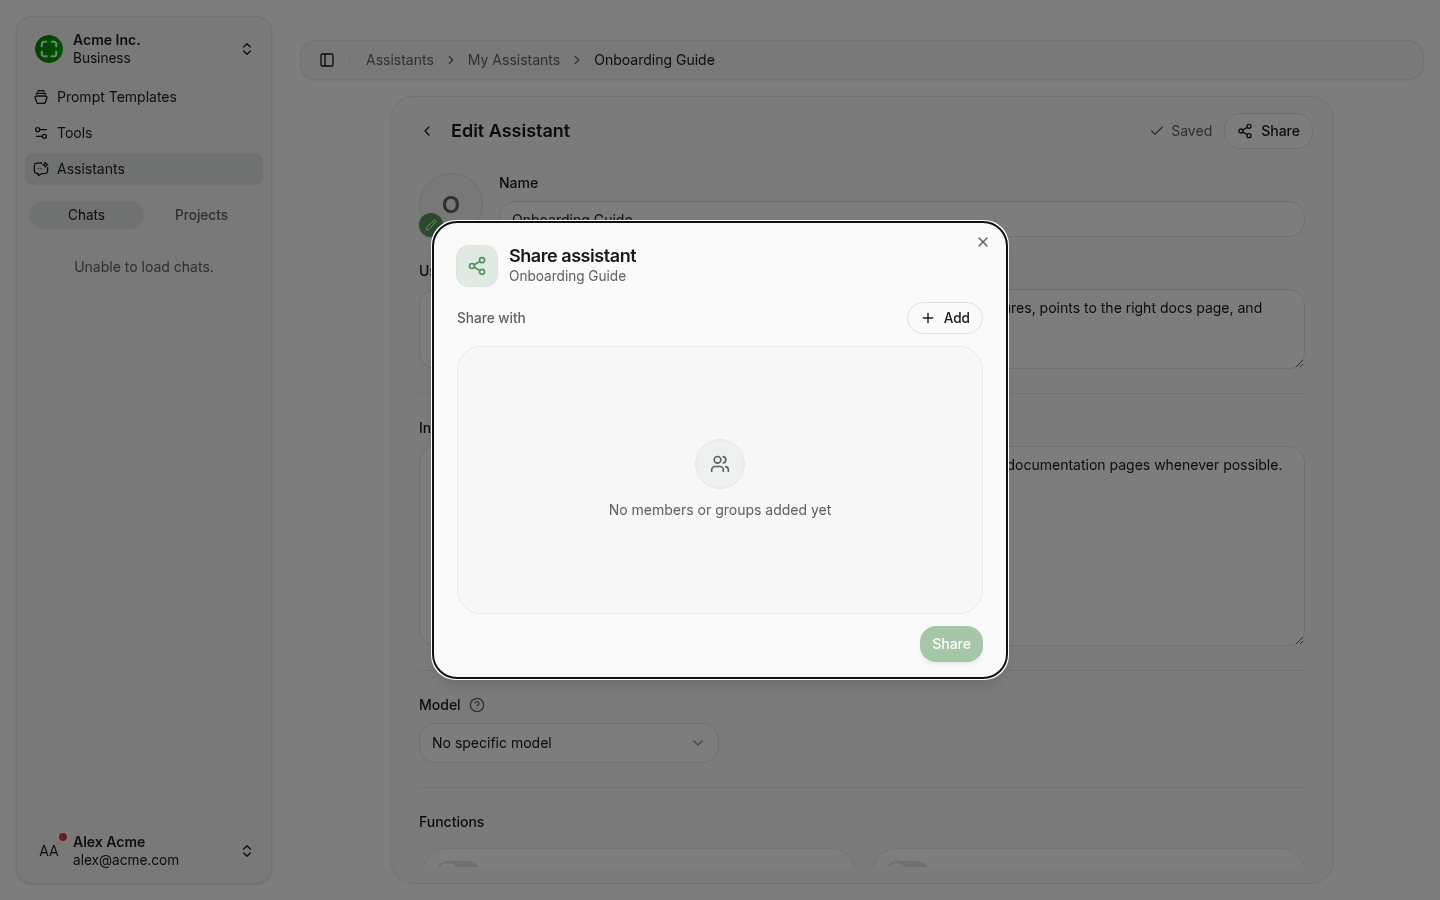
Click Add to open the picker. The picker has two tabs — Members and Groups — with a search box that filters as you type. Members are individual colleagues from your organization directory. Groups are defined under Administration → Groups; pick one and every member of that group inherits access.
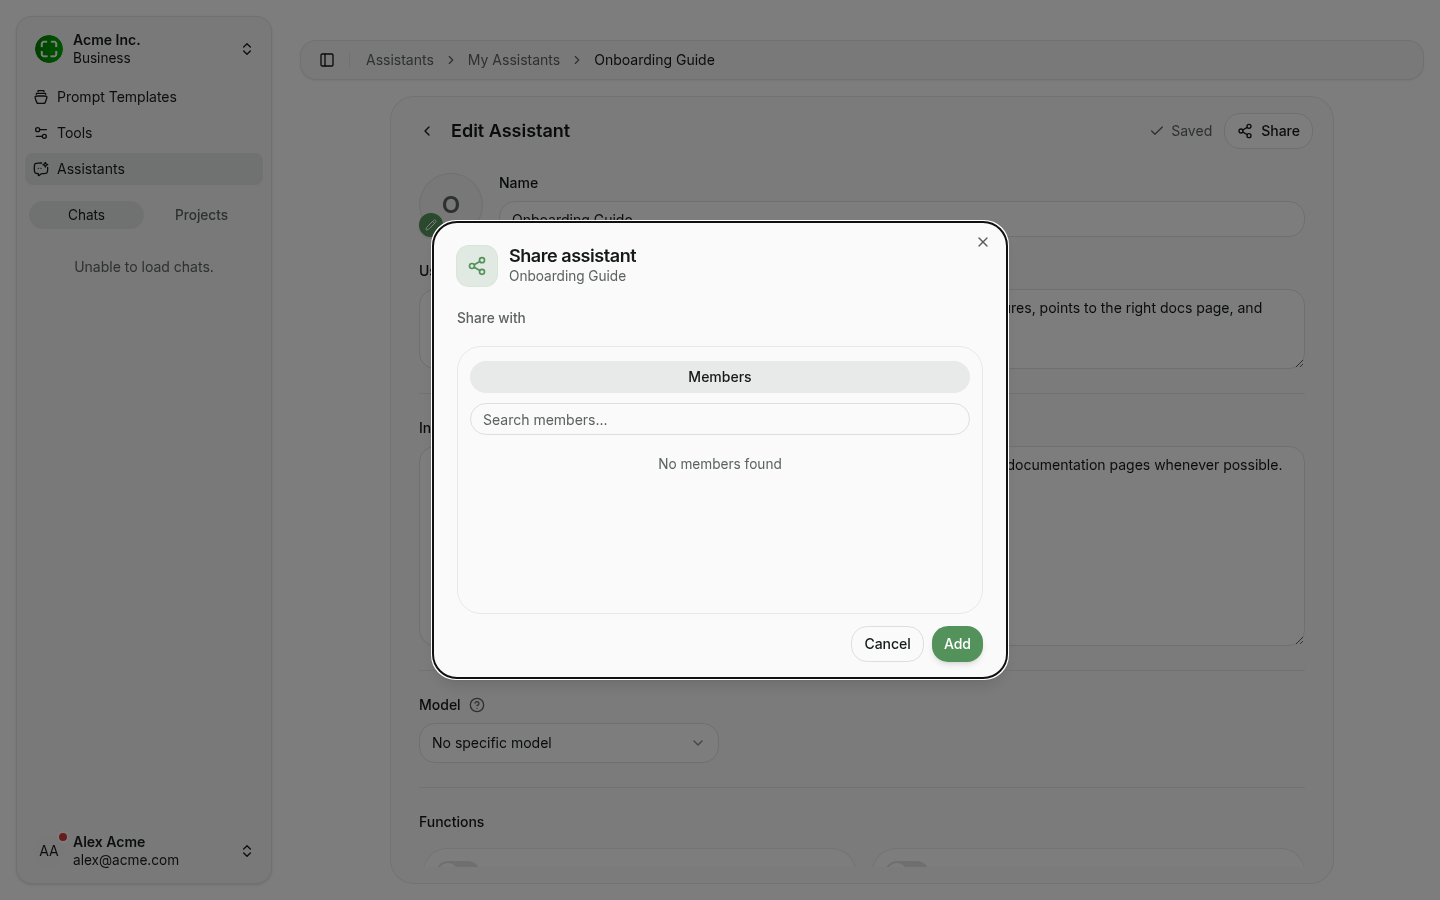
Tick one or more recipients, then click Add to drop them into the share list. Back on the main list:
- Use the permission dropdown next to each recipient to choose View & Use or Edit. View-only means the recipient can run the assistant / use the tool / instantiate the prompt template, but cannot modify it. Edit grants full control, including the ability to share it onwards.
- The × button removes a recipient (deferred — the actual unshare runs when you click Save).
- The + button at the top re-opens the picker so you can add more.
Click Save to commit. The dialog stays open showing the new state so you can verify and continue editing.
Sharing with the Entire Organization
Picking Share with organization from the first screen brings up a single confirmation step:
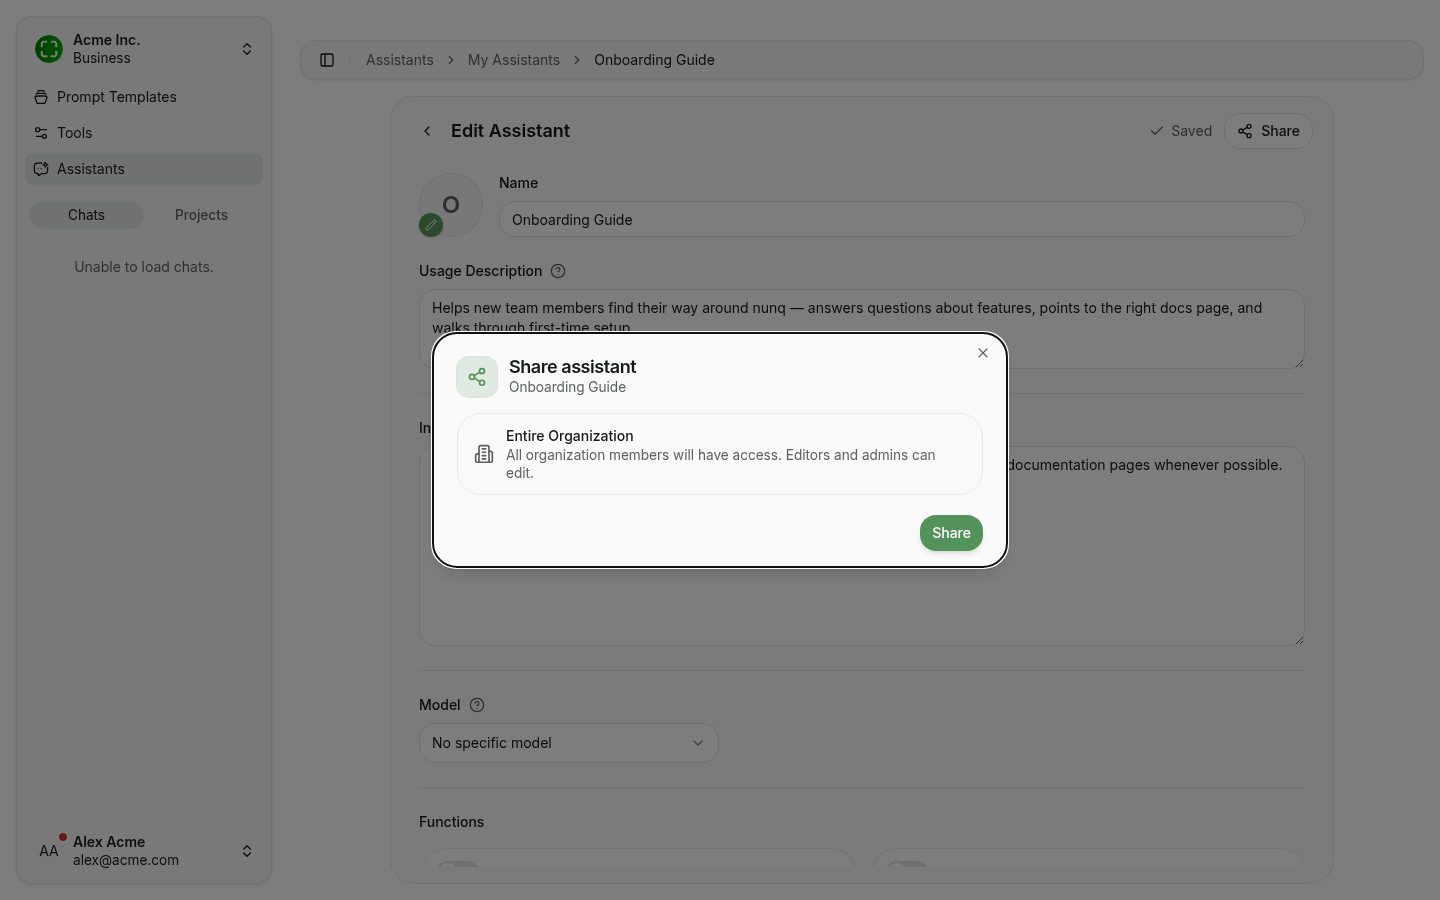
Confirming with Share grants every current and future organization member access to the resource. Editors and admins also gain edit rights. Org-wide shares are intentionally one-step: they're meant for resources that benefit everyone (a polished prompt template, a vetted shared assistant), so the dialog skips picker complexity.
If you previously had individual or group shares on the same resource, sharing with the organization replaces them with a single org-wide share. The dialog warns you about this with an "Replace all shares with organization?" confirmation before proceeding.
Sharing Assistants That Use Tools
Assistants can have associated tools. When you share such an assistant with recipients who do not yet have access to those tools, the dialog inserts an extra Share assistant tools? step before saving.
You'll see two sections:
- Tools that you could share — tools you own; tick the ones you want to grant alongside the assistant.
- Tools that you cannot share — tools owned by someone else. The recipients still won't have access to these after sharing.
If all required tools are in the cannot-share list, sharing the assistant is blocked entirely and the dialog explains why — the assistant would be broken for the recipient. Ask the tool owners to share the tools with you first, or pick a different recipient set.
For tools and prompt templates this step never appears, since they have no downstream dependencies.
Recognizing Shared Resources
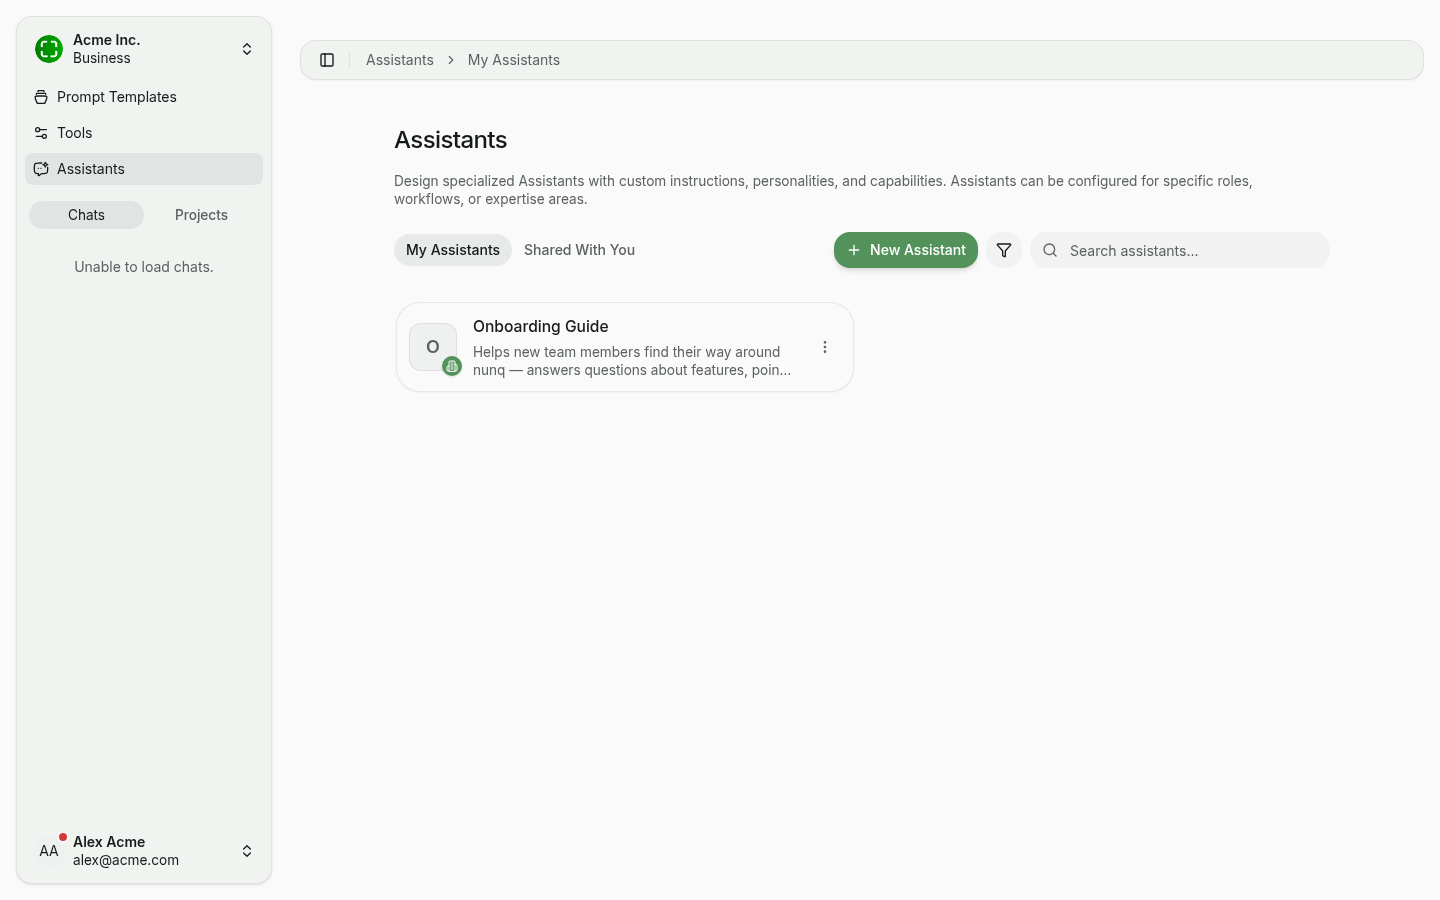
Cards in the resource lists show a small badge in the lower-right corner when a resource you own has at least one active share. The icon hints at the audience:
- A single person — shared with one or more individuals only.
- A group — shared via group(s) only.
- A building — shared org-wide.
- The generic share glyph — mixed audiences (e.g. individuals + a group).
Hovering the badge shows a tooltip with the full list of recipients.
Managing or Removing Shares
Re-open the dialog on an already-shared resource (the button now reads Manage sharing) to see the current state.
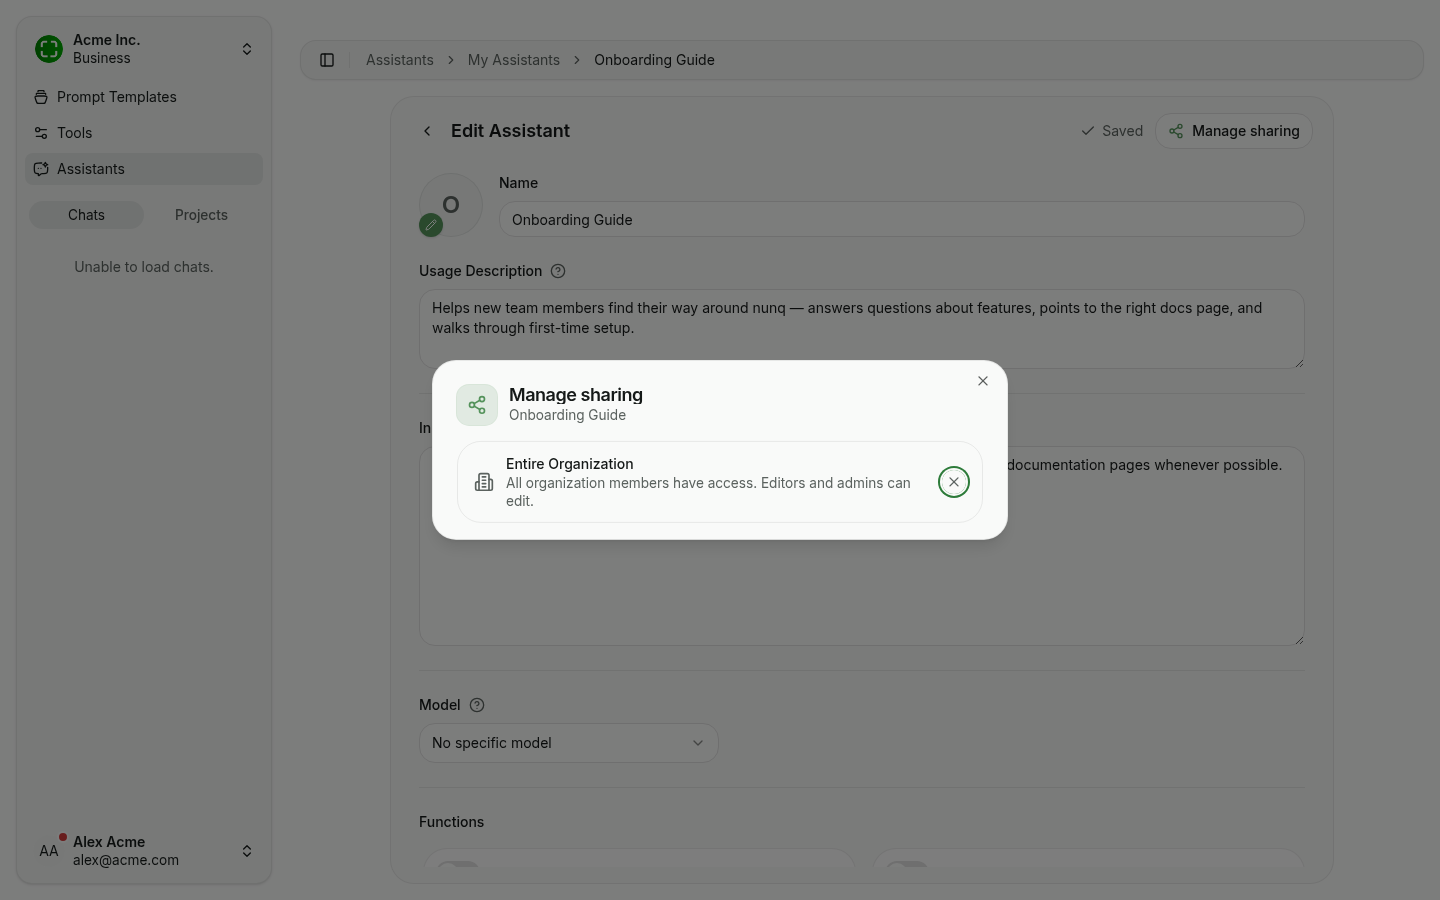
From here you can:
- Add more recipients (Individuals & Groups path).
- Change a recipient's permission level.
- Remove a recipient with the × button next to their row.
- Switch from individual shares to org-wide (which replaces all individual shares — you'll be asked to confirm).
- Remove an org-wide share by switching to the Individuals & Groups path and saving with no recipients.
Changes only apply once you click Save.
Who Can Share What
Sharing is gated by role permissions and by ownership:
- You can always share resources you own, subject to your role allowing it.
- Editors of a shared resource can re-share it onwards.
- Viewers of a shared resource cannot share it further.
- Admins can manage and remove shares created by other users.
If you don't see the Share button at all on a resource, you either don't own it or your role disallows sharing. Reach out to an organization admin if you believe this is wrong.